Showing posts with label kate m. Show all posts

Thursday, June 19, 2014

Strawberry Jam

To be honest, making strawberry jam is a bigger pain in the ass than most other jams I've made. But once I taste it, I know the fruits of my labor are worth it. Pun intended.

StrawberriesCloseUp

SinkStrawberries

It's Kate here, and as always, I have a sweet tooth recipe.

I think, subconsciously, I'm against anything and everything about strawberries. As a kid, I ate so many of them one summer I broke out in hives. I never ate them again until adulthood, because I was told I was allergic. I think my small, 3-year-old body simply couldn't handle five pounds of strawberries, or however many I ate. I don't even remember it happening. Turns out, I'm not allergic. At least, not when I don't eat my own weight in them.

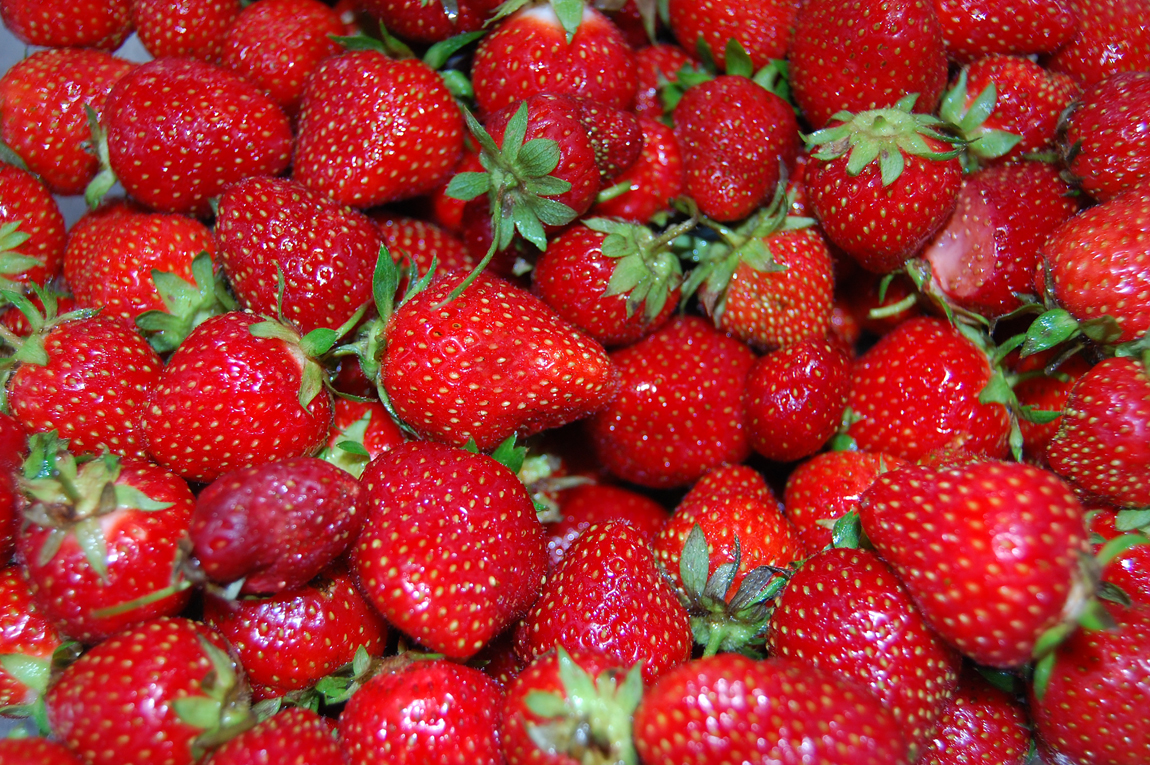
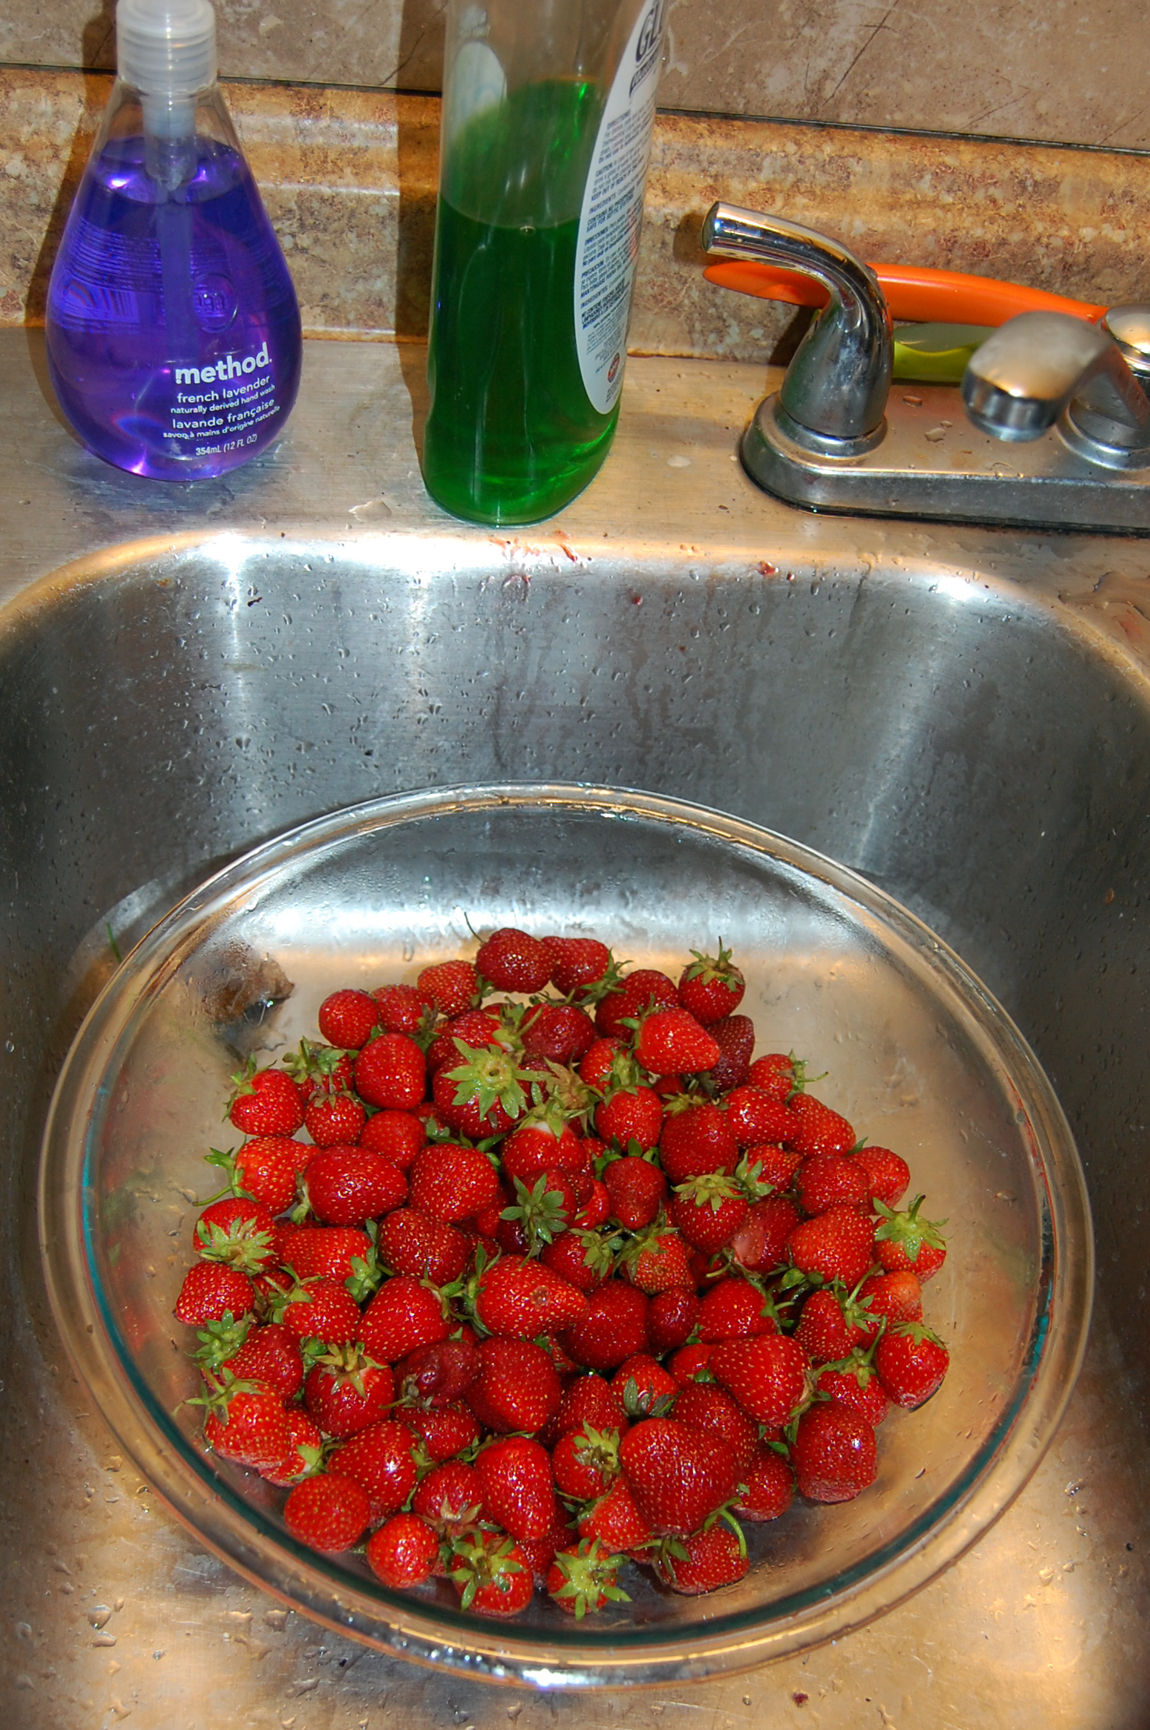
Anyway, there are extra steps to making strawberry jam, verses other jams, like blueberry or blackberry. First, cutting the stems, coring them, and cutting the strawberries takes forever. Count on it taking hours, especially when working with locally grown berries, which aren't the ginormous berries found at most grocery stores year round. (I don't want to know what's done to them for them to be that big.) Basically, I never knew how big strawberries were supposed to be until I started picking and canning them. Picked strawberries are tiny, usually about double the size of a blackberry. Sad but true. Also, strawberry season is very short compared to most other fruits, only a week or two, so take advantage of the berries while they're around! Picking season here will probably be over by the end of this weekend.

Other extra steps when making strawberry jam include clearing foam that forms on the top of the jam when its cooking down. The foam needs to be scooped up constantly. This doesn't happen when cooking other fruits.

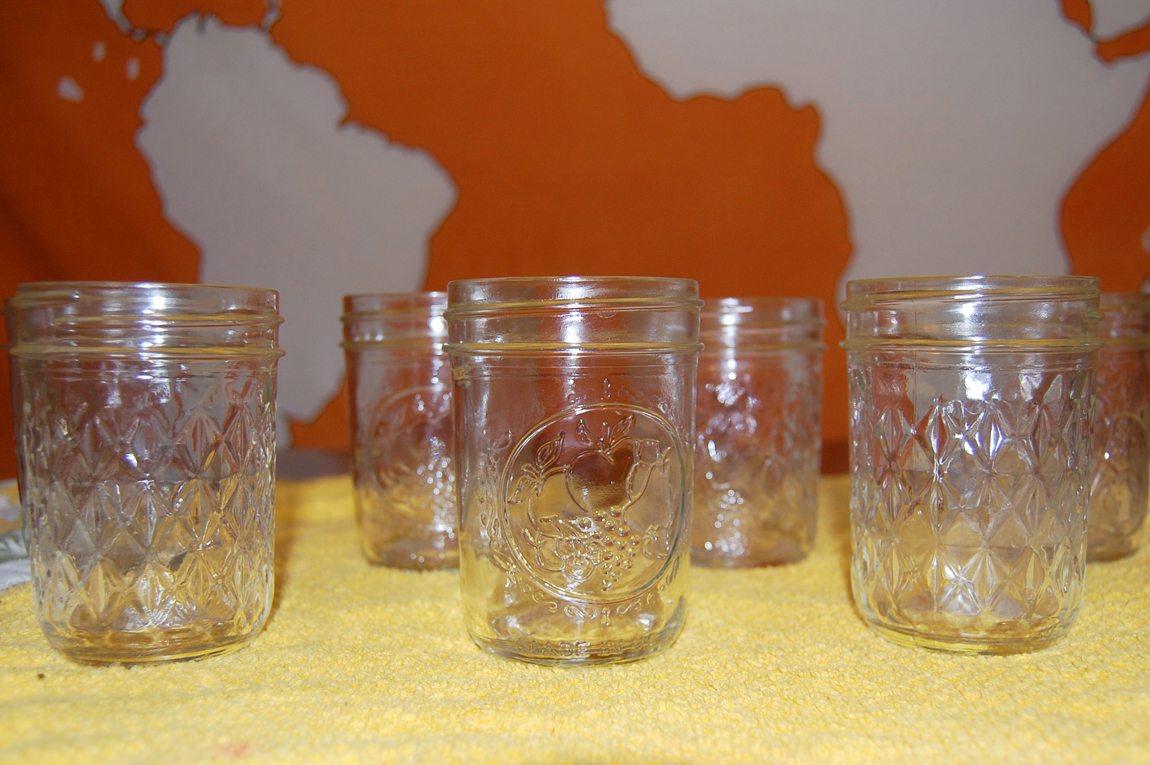
Lastly, when putting the stuff into jars, popping the air pockets with a sterilized pointy item, like a butter knife. Just go around the inside edges a few times to eliminate that problem.

I'm sorry for all of the snide comments. I'm a complainer by nature. The finished project, however, is delicious and worthwhile. And when canned via water boiling, it can keep for a year or more, without refrigeration. That always amazes me. It's magic. Even better, it's completely customizable, and I know exactly what goes into it, unlike the store bought stuff. I usually like putting in less sugar than what recipes call for, because the jam tastes tangier and fruitier that way. (And it's not super sweet.)

Anyway, here it goes:

Strawberry Jam
Recipe adapted from the Ball Blue Book Guide to Preserves

Yields about six 8 oz jars (have an extra jar or two ready just in case)

Ingredients:
• About two quarts of sweet, sweet strawberries
• 1/4 cup lemon juice
• 6 tablespoons (or one box) pectin
• 4 cups sugar (original recipe calls for 7 cups)

Directions:
Wash strawberries; drain. Remove stems. I like my jam with pieces in it, so I just crush the strawberries with a potato masher while they're cooking. Combine strawberries, pectin and lemon juice in a large sauce pot. Bring to a boil, stirring occasionally. Add sugar, stirring until dissolved. Return to a rolling boil. Boil hard 1 minute, stirring constantly. Remove from heat. Skim foam if necessary. Ladle hot jam into sterilized hot jars, leaving 1/4 headspace. Attach two-piece. Again, lids need to be sterilized. Process 10 minutes in a boiling water canner.

Once removed from canner, leave jars sit undisturbed for 24 hours. After a day, check seals by pushing the lid. If they stay in place, without flexing up or down, they're sealed. If they move up and/or down, the container hasn't sealed, and you can either water boil it again with a new lid or refrigerate immediately to eat.

For clarification's sake: Jars and rings can be used countless times. Lids, however, when water boiling to preserve, can only be used once.
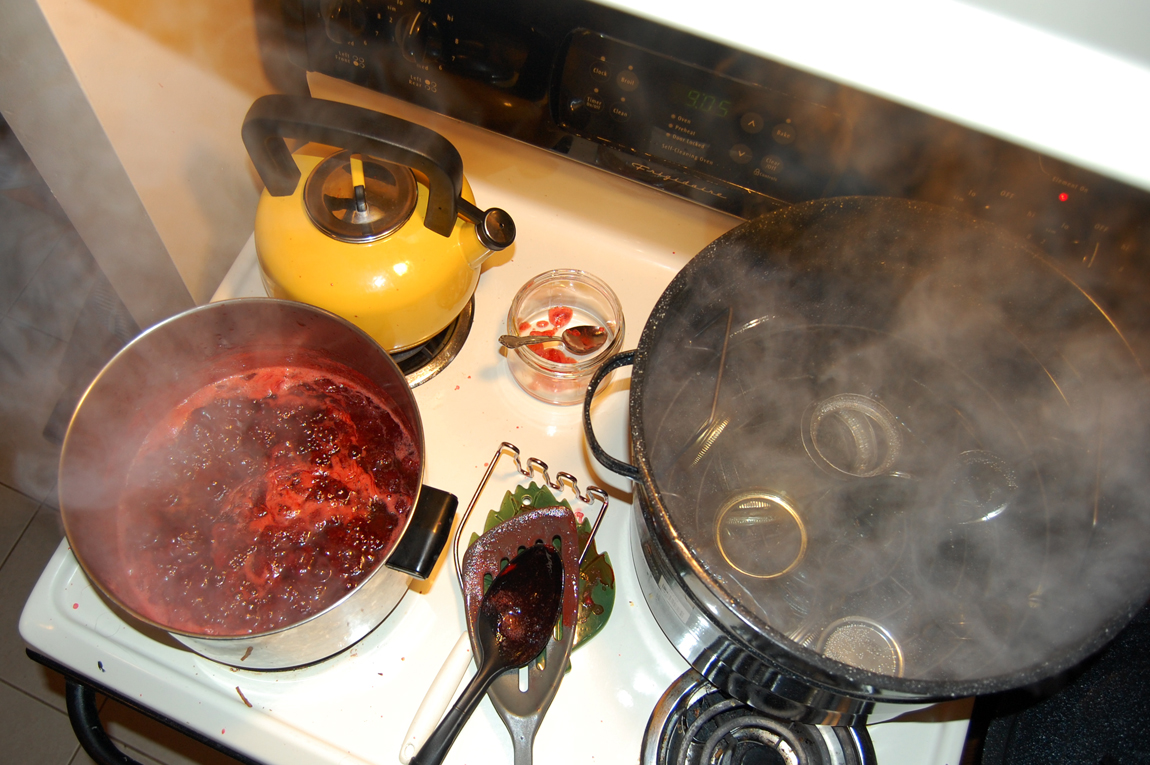
StrawberryJamCookingUpAStorm

EmptyJars

FullJars

Side note: My favorite part of the canning process, besides the food of course, is hearing the pop of the jars after taking them out of the canner. That means they're sealing! I'm probably just weird.

Also, please please please, if you've never canned before and plan on trying it out, read up on it first. Ball is the saint of canning, so you can read more about how to do it the right way here. While a canning pot helps, things can be water boiled in a large pot just fine. It's just good to be educated about it, since botulism is a very rare but dangerous risk if not done properly. It's most common when canning foods with low acidity (not so much strawberries with lemon juice), but still, it's better to be safe than sorry.

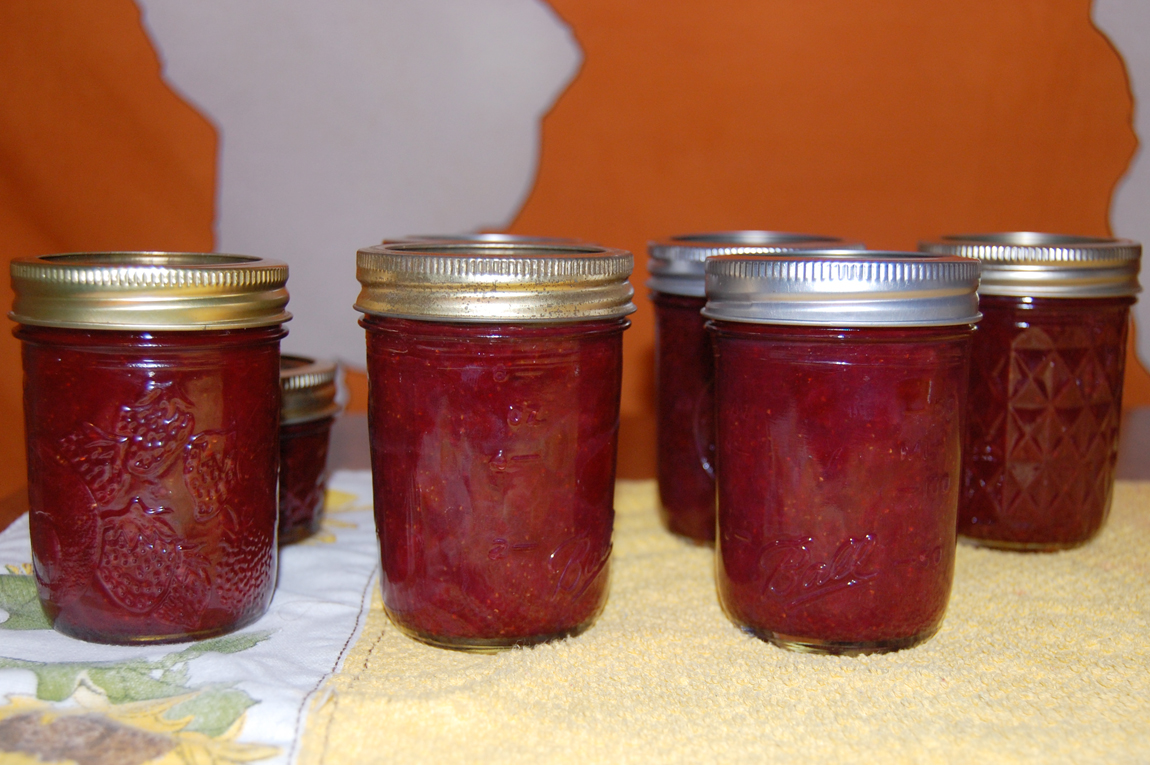
On a brighter not, here's the glorious end result:
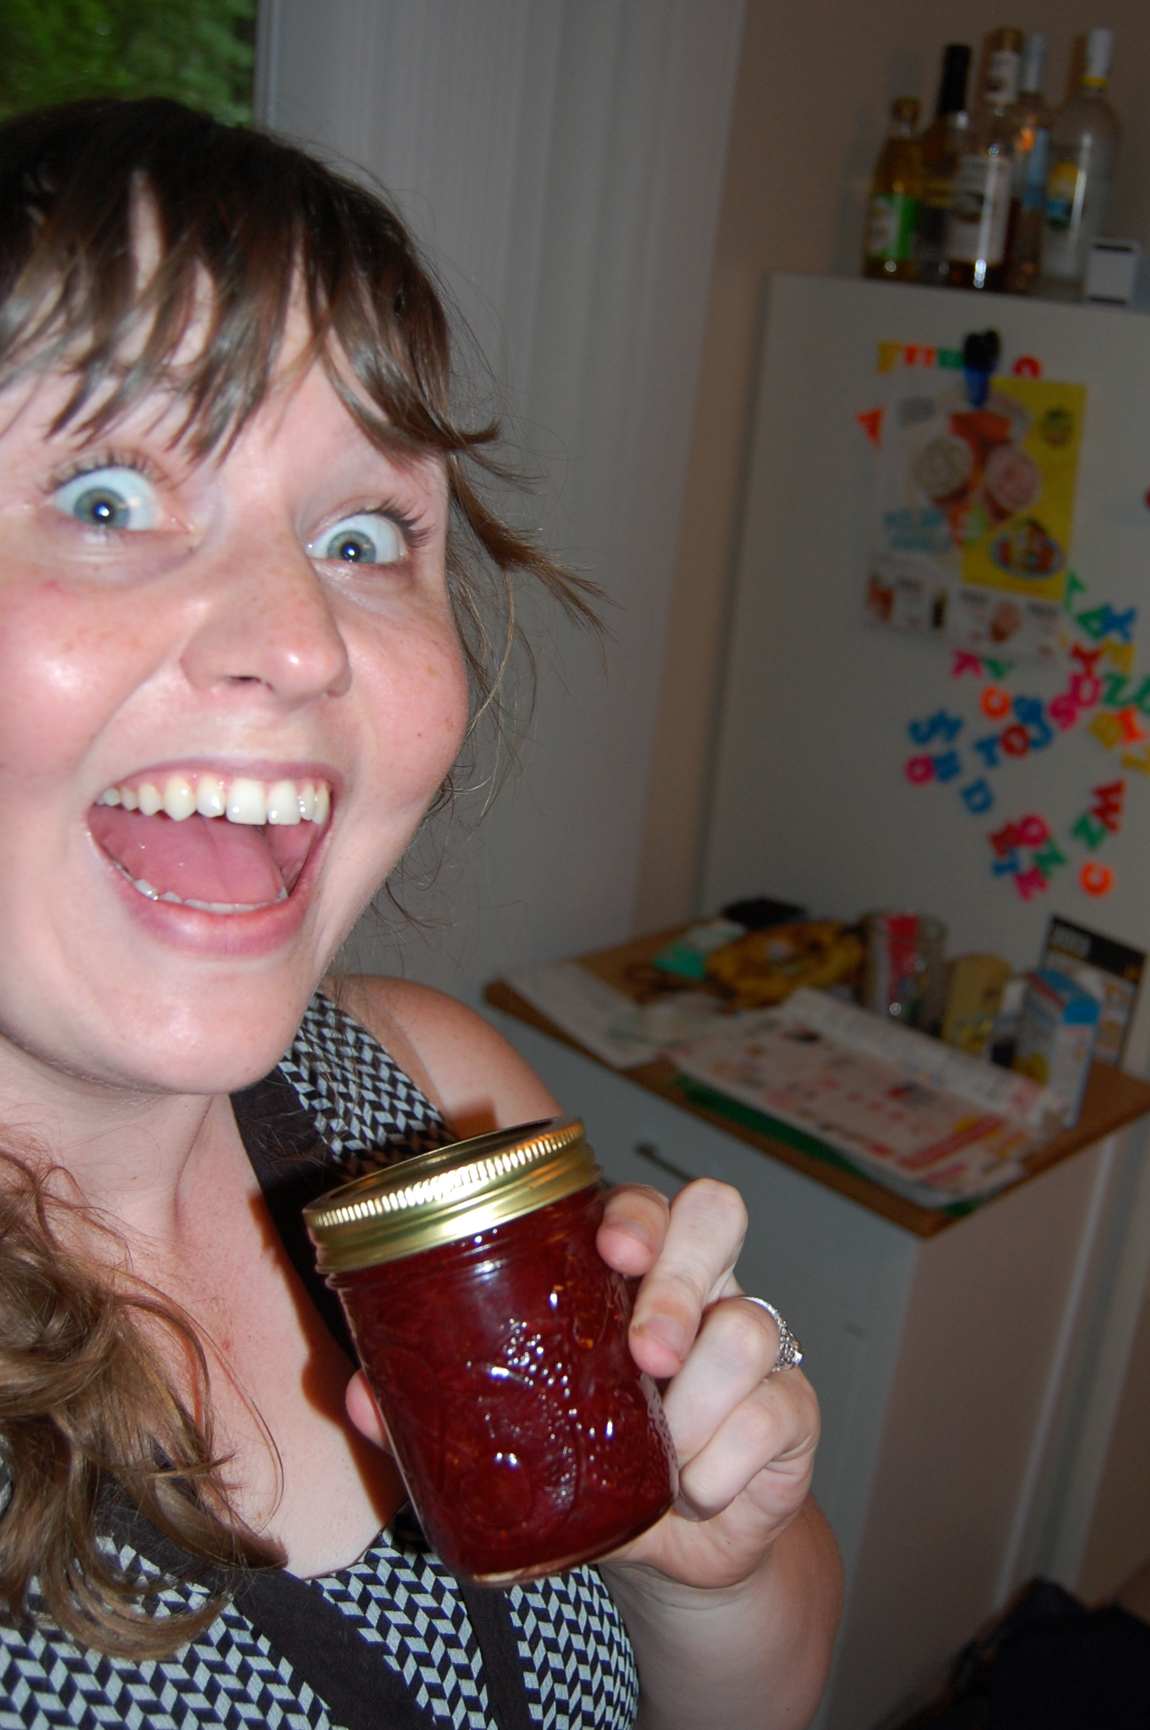
HappyJammin

Have you ever canned before?

P.S. You can also view this recipe on my blog, Thriftburgher.

Monday, May 12, 2014

Orange Cranberry Bread (for bread machine)

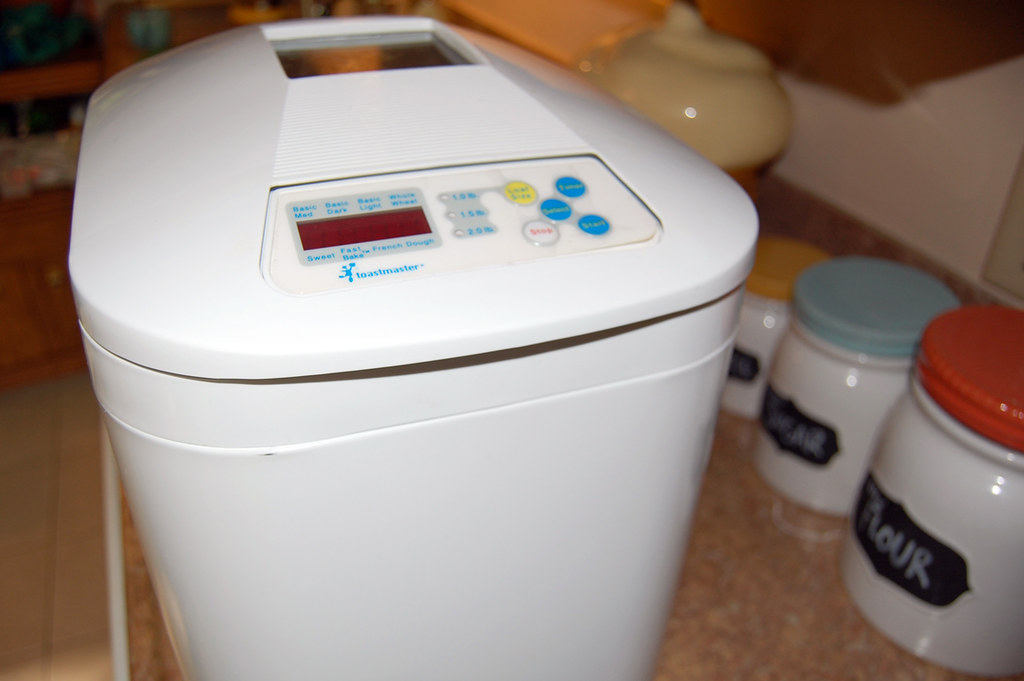
I had an epiphany over the weekend: Homemade bread is a damn miracle. Especially when a machine practically makes it for you.

Bread@Home

It's Kate here. It's been a long while since I last posted, so I hope you enjoy my new and slightly ambitious cooking adventure!

Mark and I inherited his grandma's bread machine after she passed away a few years ago. I guess they had used it a lot together growing up. But for one reason or another, the bread machine sat in our laundry room until Saturday night, when I thought it would awesome to have some homemade bread in the house. I've baked sweet breads, and I've baked breads with yeast, but I've never made bread using a bread machine. I'm now a believer.

I found this Cranberry Orange Bread recipe from AllRecipes.com, and knew I had to make it because we already had all of the ingredients for it.

Ingredients:
• 3 cups all-purpose flour
• 1 cup dried cranberries (the cool kids call them Craisins)
• 3/4 cup plain yogurt
• 1/2 cup warm water
• 3 tablespoons honey
• 1 tablespoon butter, melted
• 2 teaspoons active dry yeast
• 1 1/2 teaspoons salt
• 1 teaspoon orange oil
• 2 teaspoons dried orange zest (my own addition, for additional orangey flavor)

Directions:
Add ingredients to bread machine, wet ingredients on bottom, dry ingredients in middle, and yeast on top. Press start button.

WHO KNEW IT WOULD BE THAT EASY?

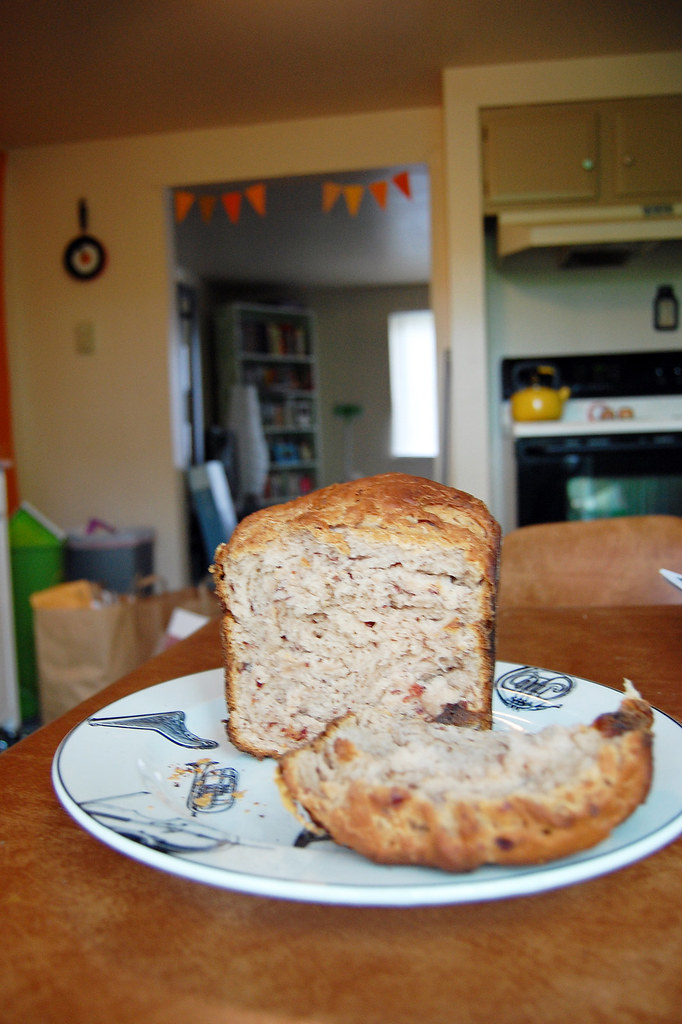
Full disclosure: I didn't realize the machine even mixes everything for you. It's like magic. Also, the bread machine has an overnight setting, for fresh bread first thing in the morning, so we opted for that. It came out with a slightly dark crust, but aside from that, it was delicious.

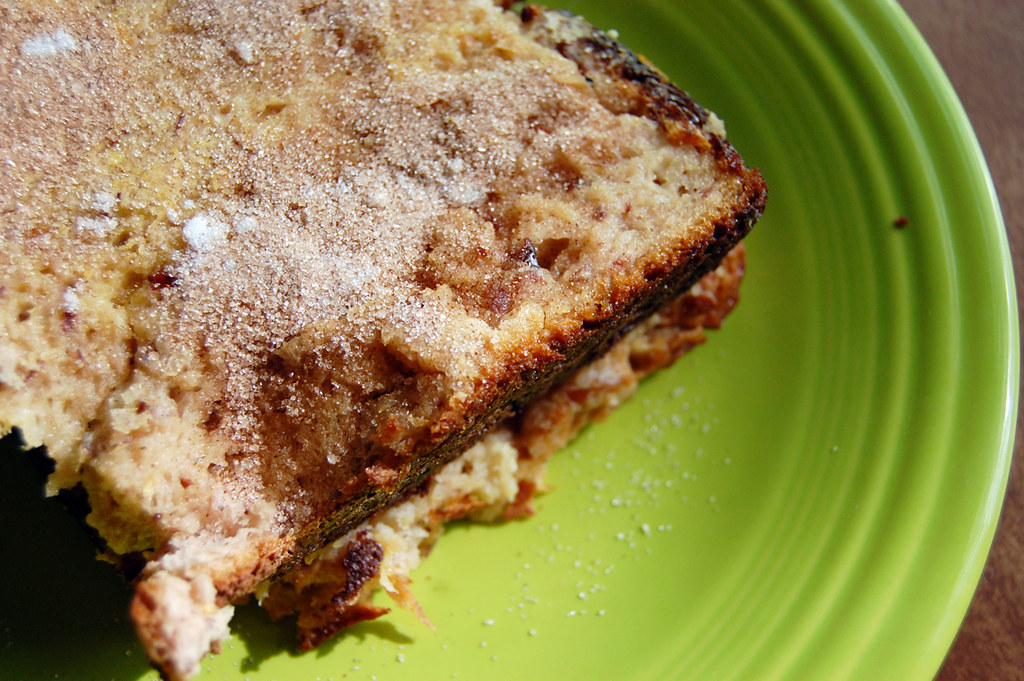
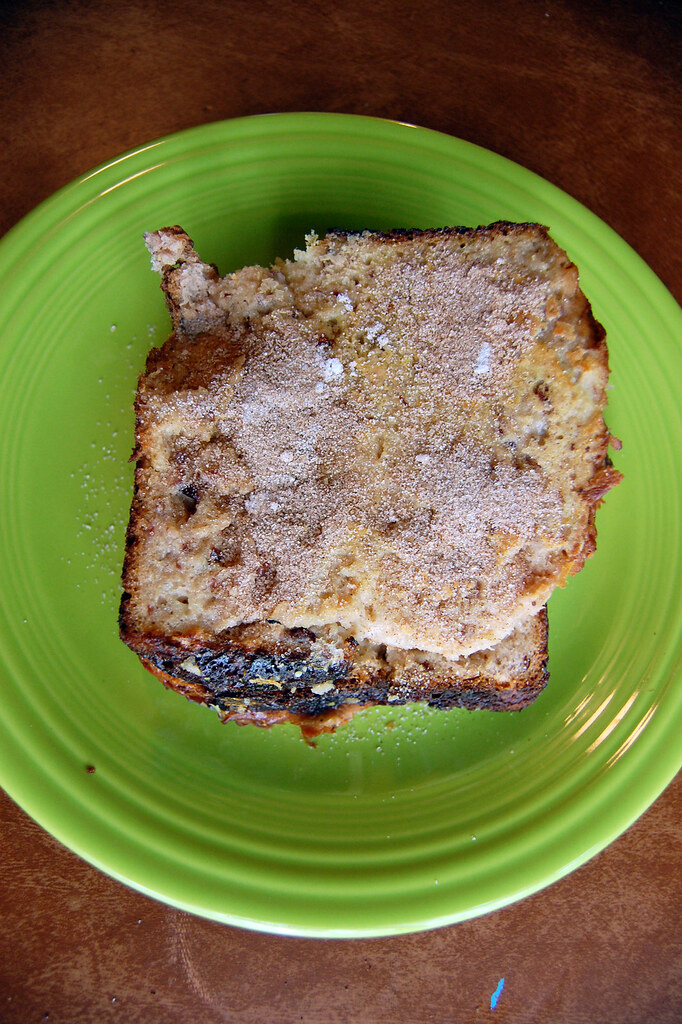
We decided to make french toast with it, and we topped it with cinnamon and sugar. Perfection.

FrenchToast2@Home

FrenchToast1@Home

All hail to the bread machine.

BreadMachine@Home

Clock@Home

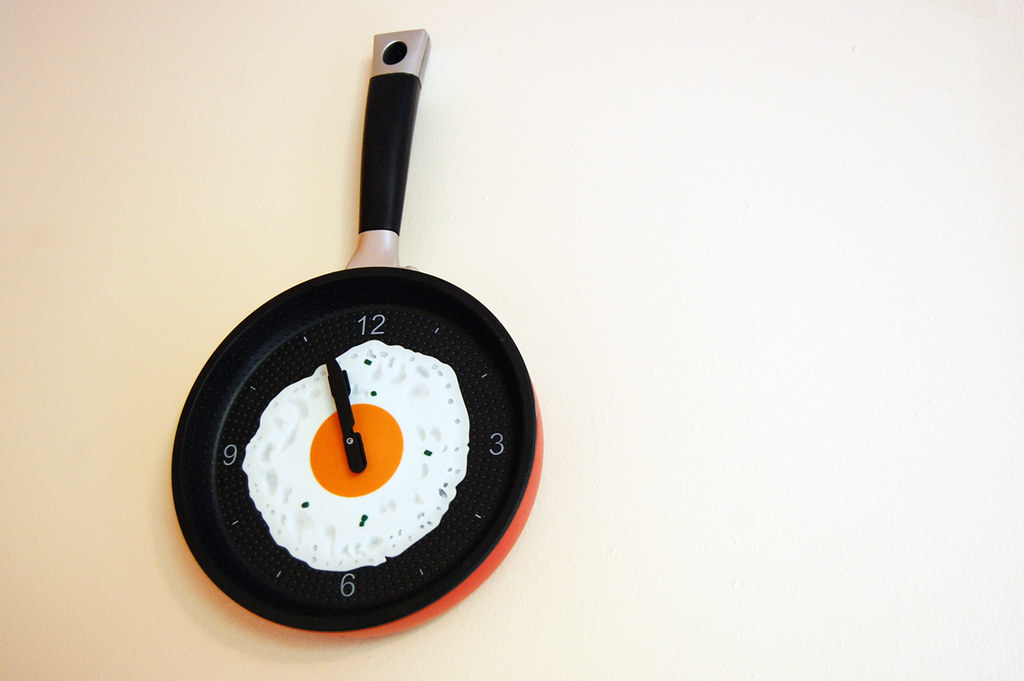
In other news, I had to show off the breakfast-themed clock I finally hung up in the kitchen. It still needs batteries, but it looks great up on the wall. My sister Ashley got it for me for Christmas. :)

You can also view this recipe on my blog, Thriftburgher.

Sunday, March 3, 2013

Strawberry Scones!


So, I know strawberries aren't in season yet, BUT Meijer was having a crazy sale last week at $1 a package. I couldn't resist... so I got seven.

They typically freeze really well, and I make breakfast smoothies a lot, so Mark and I will pretty much be set on strawberries for a month or two. The containers are practically taking up half of the freezer.


I love making scones. They're surprisingly easy to make, and can be acceptable as a breakfast item, too. The recipe I found called for a cup of chopped strawberries, but hardly put a dent in the container. Following a quick Google search I found a recipe that uses Greek yogurt, so I went with that. You can see on the Chobani web site here.

Ingredients:
• 3/4 cup strawberry Greek yogurt (I used vanilla and it worked fine)
• 2 c all-purpose flour plus extra for dusting work surface
• ¼ c sugar plus 2 T for sprinkling
• 2 t baking powder
• ½ tsp baking soda
• ¼ tsp kosher salt
• 4 Tbsp cold unsalted butter cut into ¼-inch cubes
• 1 c chopped fresh strawberries

Sunday, February 10, 2013

Enchiladas with Mango Sauce

So I was paging through some recipes I've collected in a junk drawer since moving to Ohio, and stumbled upon this enchiladas recipe in a Better Homes and Gardens "prizewinning recipes" cookbook. I found a whole bunch of cookbooks at a garage sale last summer -- some lady was giving them away. Her loss!

Poor Mark didn't know what enchiladas were until I made them today. I could only best describe them as tacos you bake, but it's not really an accurate description. Regardless, he's a believer now. The mango sauce really brought all of the chewy goodness together. (Sorry I got a little lazy with photos -- we ate them too quickly!)


Adapted from the Better Homes and Gardens Prizewinning Recipes 2007 Cookbook:

Enchiladas

Ingredients:
• 8(ish) 6- to 7-inch flour tortillas (original recipe called for 12 tortillas)
• 1 medium onion, chopped
• 2 cloves garlic, minced
• 1 medium jalapeƱo or serrano chile pepper, seeded and finely chopped
• 1 Tbsp. olive oil or cooking oil
• 1 cup + 1/3 cup sour cream
• 1/4 cup mole or enchilada sauce (perhaps you can try making Laura's homemade enchilada sauce)
• 1 15-oz. can black beans, rinsed and drained (original recipe called for two cans)
• 8 oz. cheddar cheese, shredded (1 to 2 cups)
• 2 Tbsp. all-purpose flour
• 1 tsp. ground cumin
• 3/4 cup milk
• 1 recipe mango salsa (see below)

Saturday, December 29, 2012

Crazy Coconut Cake


 Coconut Cake, with Coconut Buttercream Frosting, topped with coconut flakes. Obviously for the hardcore coconut lover.

Much to my aggravation, my fiance Mark's birthday happens to be three days after Christmas. It's killer for me because he's already hard to buy for, and I have to think of enough present ideas for two occasions in the same week.

His food tastes, however, are pretty easy to figure out. When I saw the recipe for Coconut Cake in the June/July 2012 issue of BUST magazine several months ago, I knew I had to keep it in mind to try.
So, the morning of his birthday, I woke up at 8 a.m. to put the thing together. I never made a homemade cake before, let alone a layered one, but I was extra motivated by the fact that his mom just bought us a Kitchen Aid mixer for Christmas. It was also my first time making homemade buttercream frosting.

This recipe I found in BUST, but they cited the recipe from The Back in the Day Bakery Cookbook, by Cheryl Day & Griffith Day. This recipe is repeated nearly verbatim from the magazine.

Cake Ingredients:
3 cups unbleached, all-purpose flour
1/2 tsp. baking soda
1 tsp. baking powder, preferably aluminum-free
1/4 tsp. ground cardamom
1/2 tsp. fine sea salt
3/4 cup cream of coconut (could not find this stuff in the store anywhere, so opted for coconut milk instead)
1 1/2 tsp. pure almond extract
1 1/2 tsp. pure vanilla extract
3/4 lb. (three sticks) unsalted butter, at room temperature
2 cups sugar
6 large eggs, at room temperature
3 cups sweetened flaked coconut

Prep time: 1 hour, 25 minutes
Cook time: 45-50 minutes
Serves: 10 - 12

Saturday, December 1, 2012

Squash Ravioli from Thanksgiving leftovers!

Hi everyone, it's Kate here and it's my very first post! Yay! I'm living in Ohio now, but a Pittsburgher at heart.

Last week, I got some delicious inspiration from this Trib article about reinventing Thanksgiving leftovers. The one that stuck out to me were the ravioli, especially since they're pretty similar to pierogies, a true yinzer favorite.


Squash ravioli: delicious and easy to make!


Instead of incorporating turkey, because we actually ran out of that, I focused on the butternut squash, because we have a ton. So here's a squash ravioli recipe slightly adapted, but mostly the same from the Pittsburgh Tribune-Review article.

LinkWithin

Related Posts Plugin for WordPress, Blogger...