Showing posts with label fruit. Show all posts

Thursday, June 19, 2014

Strawberry Jam

To be honest, making strawberry jam is a bigger pain in the ass than most other jams I've made. But once I taste it, I know the fruits of my labor are worth it. Pun intended.

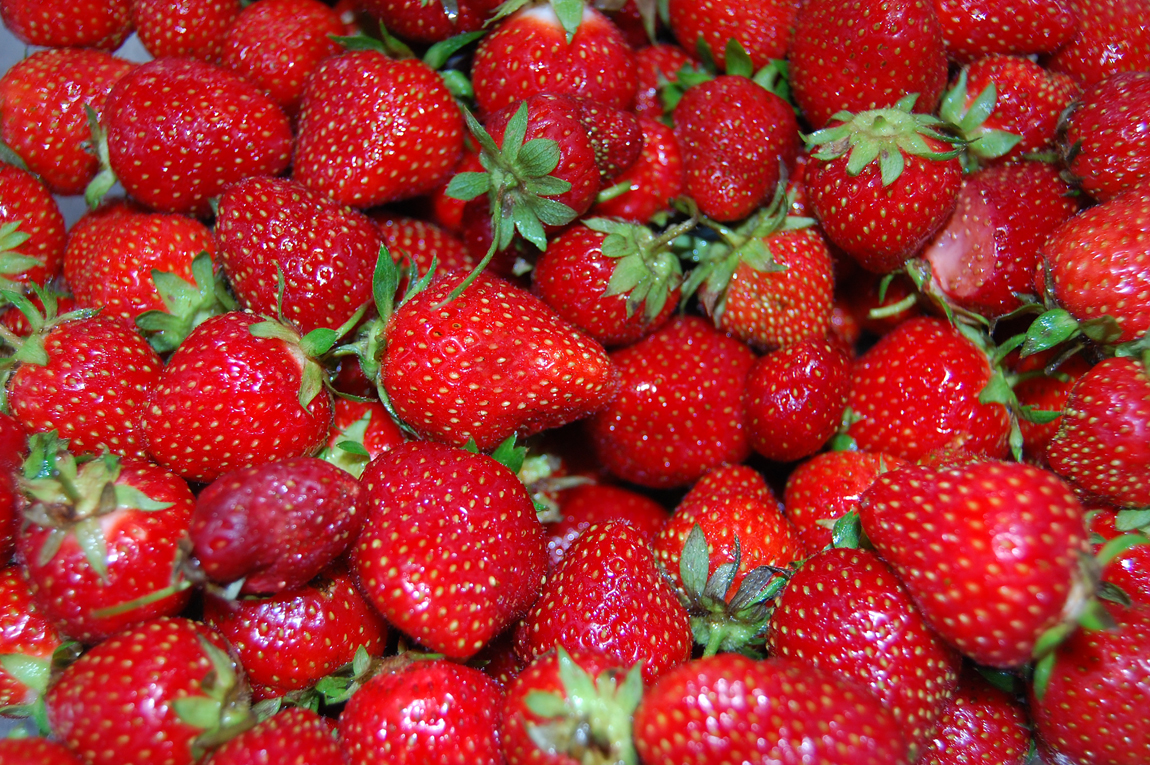
StrawberriesCloseUp

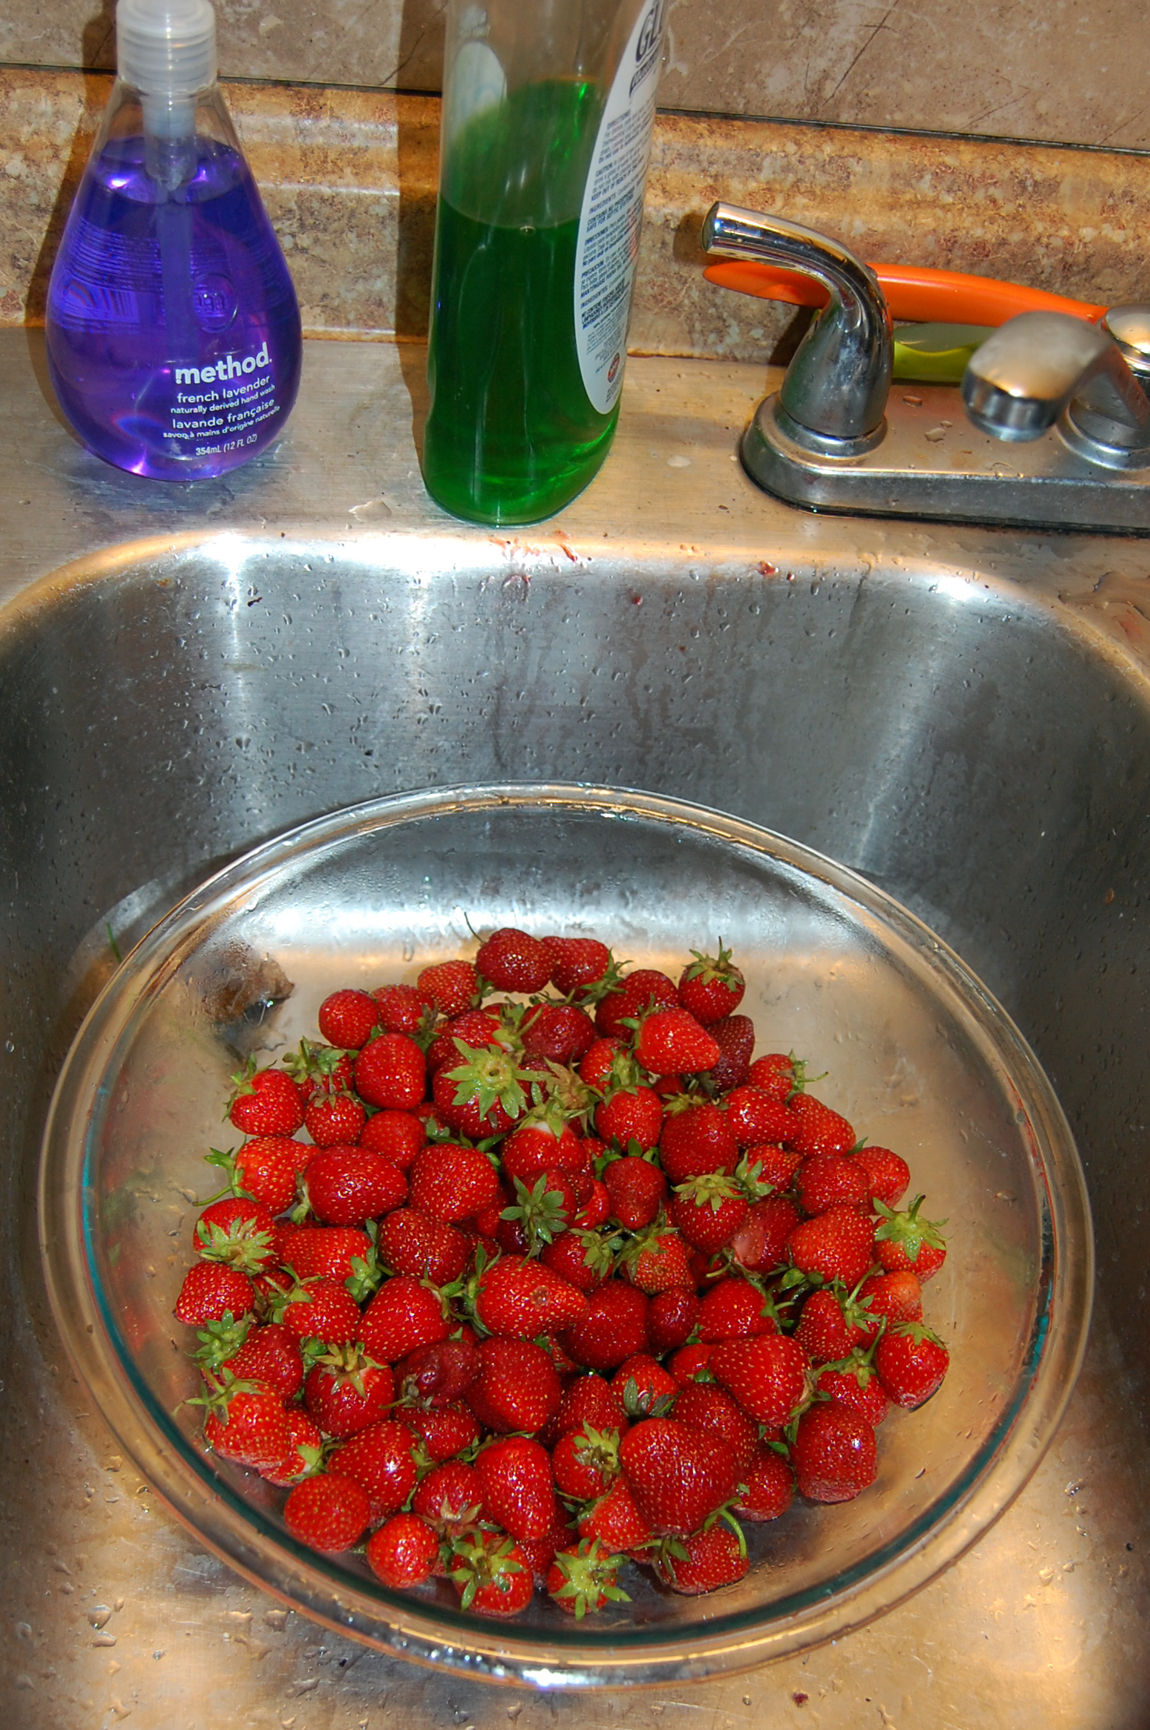
SinkStrawberries

It's Kate here, and as always, I have a sweet tooth recipe.

I think, subconsciously, I'm against anything and everything about strawberries. As a kid, I ate so many of them one summer I broke out in hives. I never ate them again until adulthood, because I was told I was allergic. I think my small, 3-year-old body simply couldn't handle five pounds of strawberries, or however many I ate. I don't even remember it happening. Turns out, I'm not allergic. At least, not when I don't eat my own weight in them.

Anyway, there are extra steps to making strawberry jam, verses other jams, like blueberry or blackberry. First, cutting the stems, coring them, and cutting the strawberries takes forever. Count on it taking hours, especially when working with locally grown berries, which aren't the ginormous berries found at most grocery stores year round. (I don't want to know what's done to them for them to be that big.) Basically, I never knew how big strawberries were supposed to be until I started picking and canning them. Picked strawberries are tiny, usually about double the size of a blackberry. Sad but true. Also, strawberry season is very short compared to most other fruits, only a week or two, so take advantage of the berries while they're around! Picking season here will probably be over by the end of this weekend.

Other extra steps when making strawberry jam include clearing foam that forms on the top of the jam when its cooking down. The foam needs to be scooped up constantly. This doesn't happen when cooking other fruits.

Lastly, when putting the stuff into jars, popping the air pockets with a sterilized pointy item, like a butter knife. Just go around the inside edges a few times to eliminate that problem.

I'm sorry for all of the snide comments. I'm a complainer by nature. The finished project, however, is delicious and worthwhile. And when canned via water boiling, it can keep for a year or more, without refrigeration. That always amazes me. It's magic. Even better, it's completely customizable, and I know exactly what goes into it, unlike the store bought stuff. I usually like putting in less sugar than what recipes call for, because the jam tastes tangier and fruitier that way. (And it's not super sweet.)

Anyway, here it goes:

Strawberry Jam
Recipe adapted from the Ball Blue Book Guide to Preserves

Yields about six 8 oz jars (have an extra jar or two ready just in case)

Ingredients:
• About two quarts of sweet, sweet strawberries
• 1/4 cup lemon juice
• 6 tablespoons (or one box) pectin
• 4 cups sugar (original recipe calls for 7 cups)

Directions:
Wash strawberries; drain. Remove stems. I like my jam with pieces in it, so I just crush the strawberries with a potato masher while they're cooking. Combine strawberries, pectin and lemon juice in a large sauce pot. Bring to a boil, stirring occasionally. Add sugar, stirring until dissolved. Return to a rolling boil. Boil hard 1 minute, stirring constantly. Remove from heat. Skim foam if necessary. Ladle hot jam into sterilized hot jars, leaving 1/4 headspace. Attach two-piece. Again, lids need to be sterilized. Process 10 minutes in a boiling water canner.

Once removed from canner, leave jars sit undisturbed for 24 hours. After a day, check seals by pushing the lid. If they stay in place, without flexing up or down, they're sealed. If they move up and/or down, the container hasn't sealed, and you can either water boil it again with a new lid or refrigerate immediately to eat.

For clarification's sake: Jars and rings can be used countless times. Lids, however, when water boiling to preserve, can only be used once.
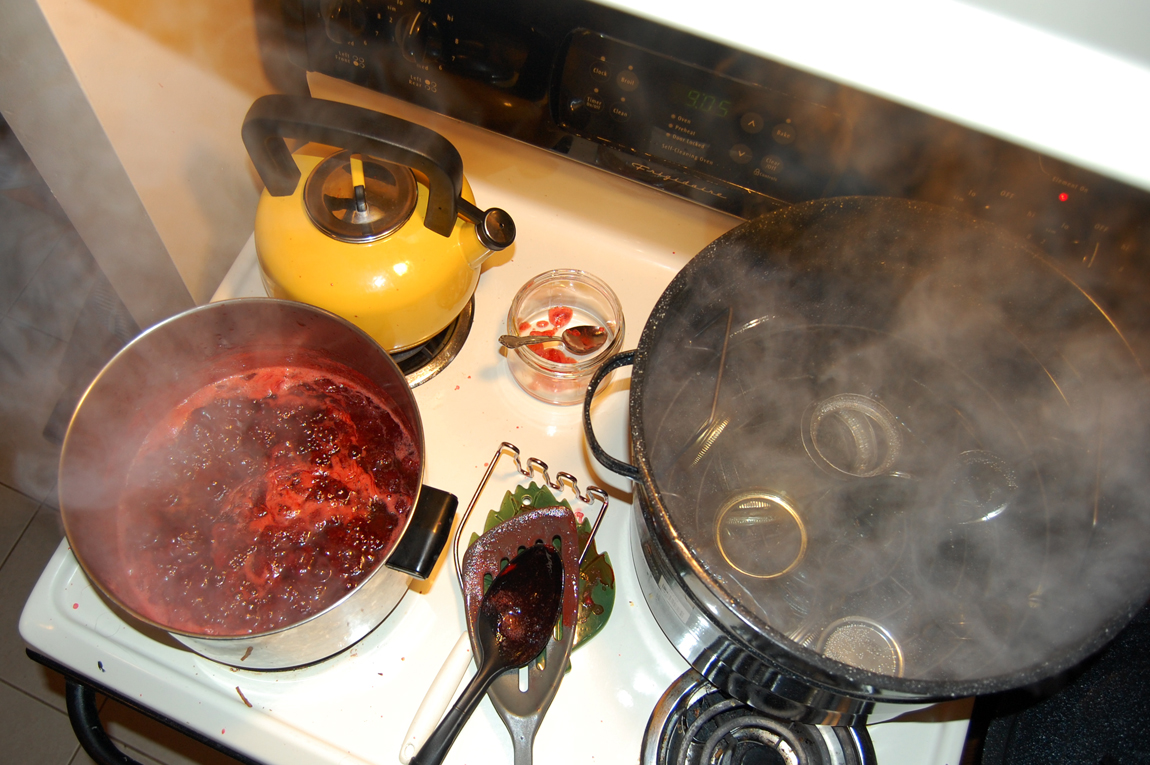
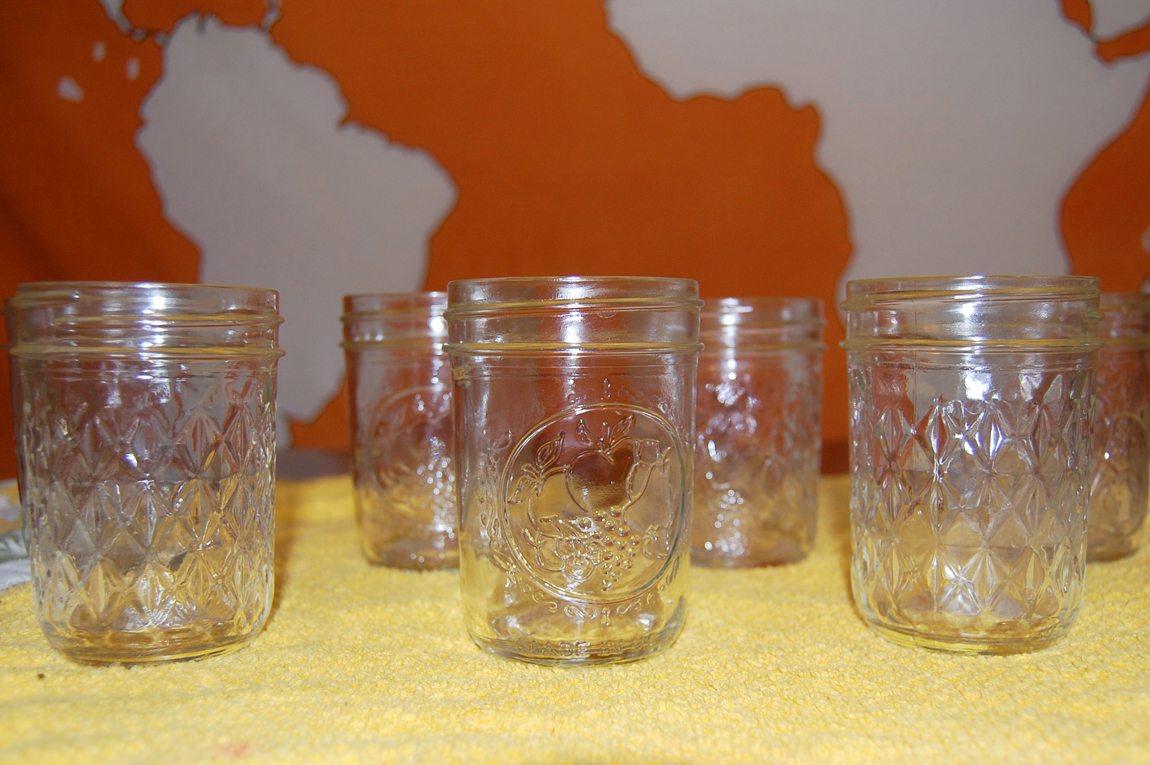
StrawberryJamCookingUpAStorm

EmptyJars

FullJars

Side note: My favorite part of the canning process, besides the food of course, is hearing the pop of the jars after taking them out of the canner. That means they're sealing! I'm probably just weird.

Also, please please please, if you've never canned before and plan on trying it out, read up on it first. Ball is the saint of canning, so you can read more about how to do it the right way here. While a canning pot helps, things can be water boiled in a large pot just fine. It's just good to be educated about it, since botulism is a very rare but dangerous risk if not done properly. It's most common when canning foods with low acidity (not so much strawberries with lemon juice), but still, it's better to be safe than sorry.

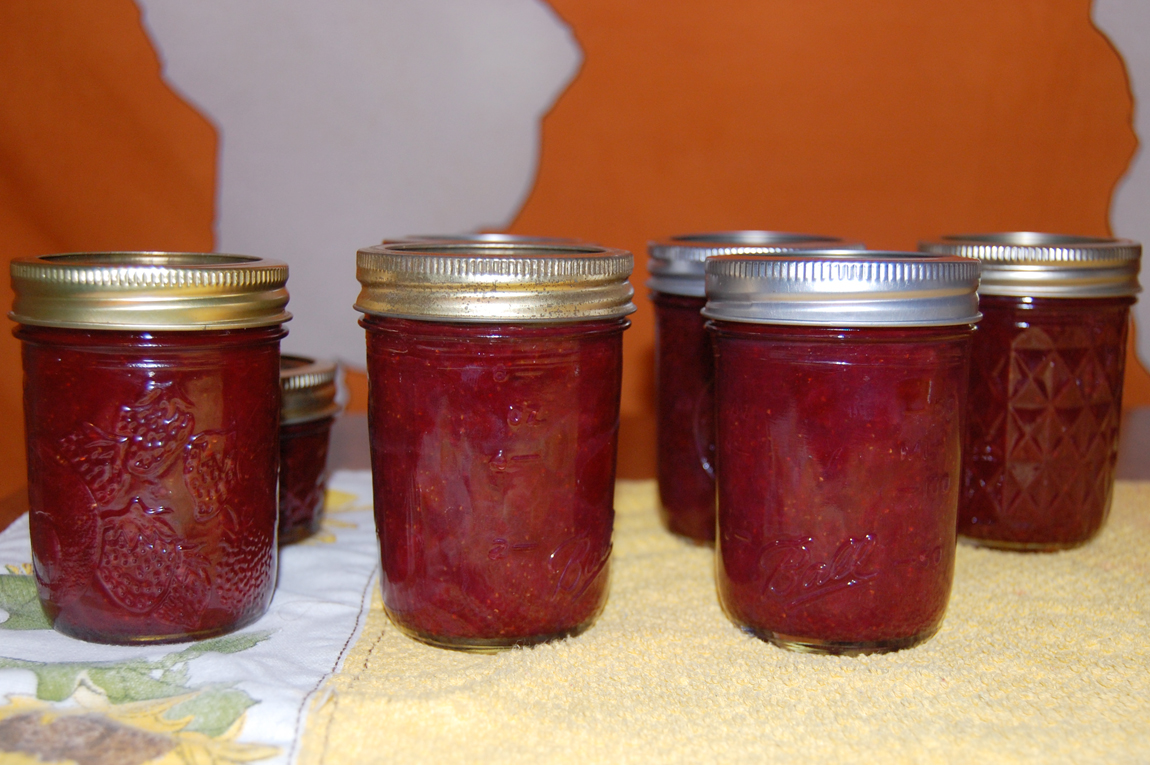
On a brighter not, here's the glorious end result:
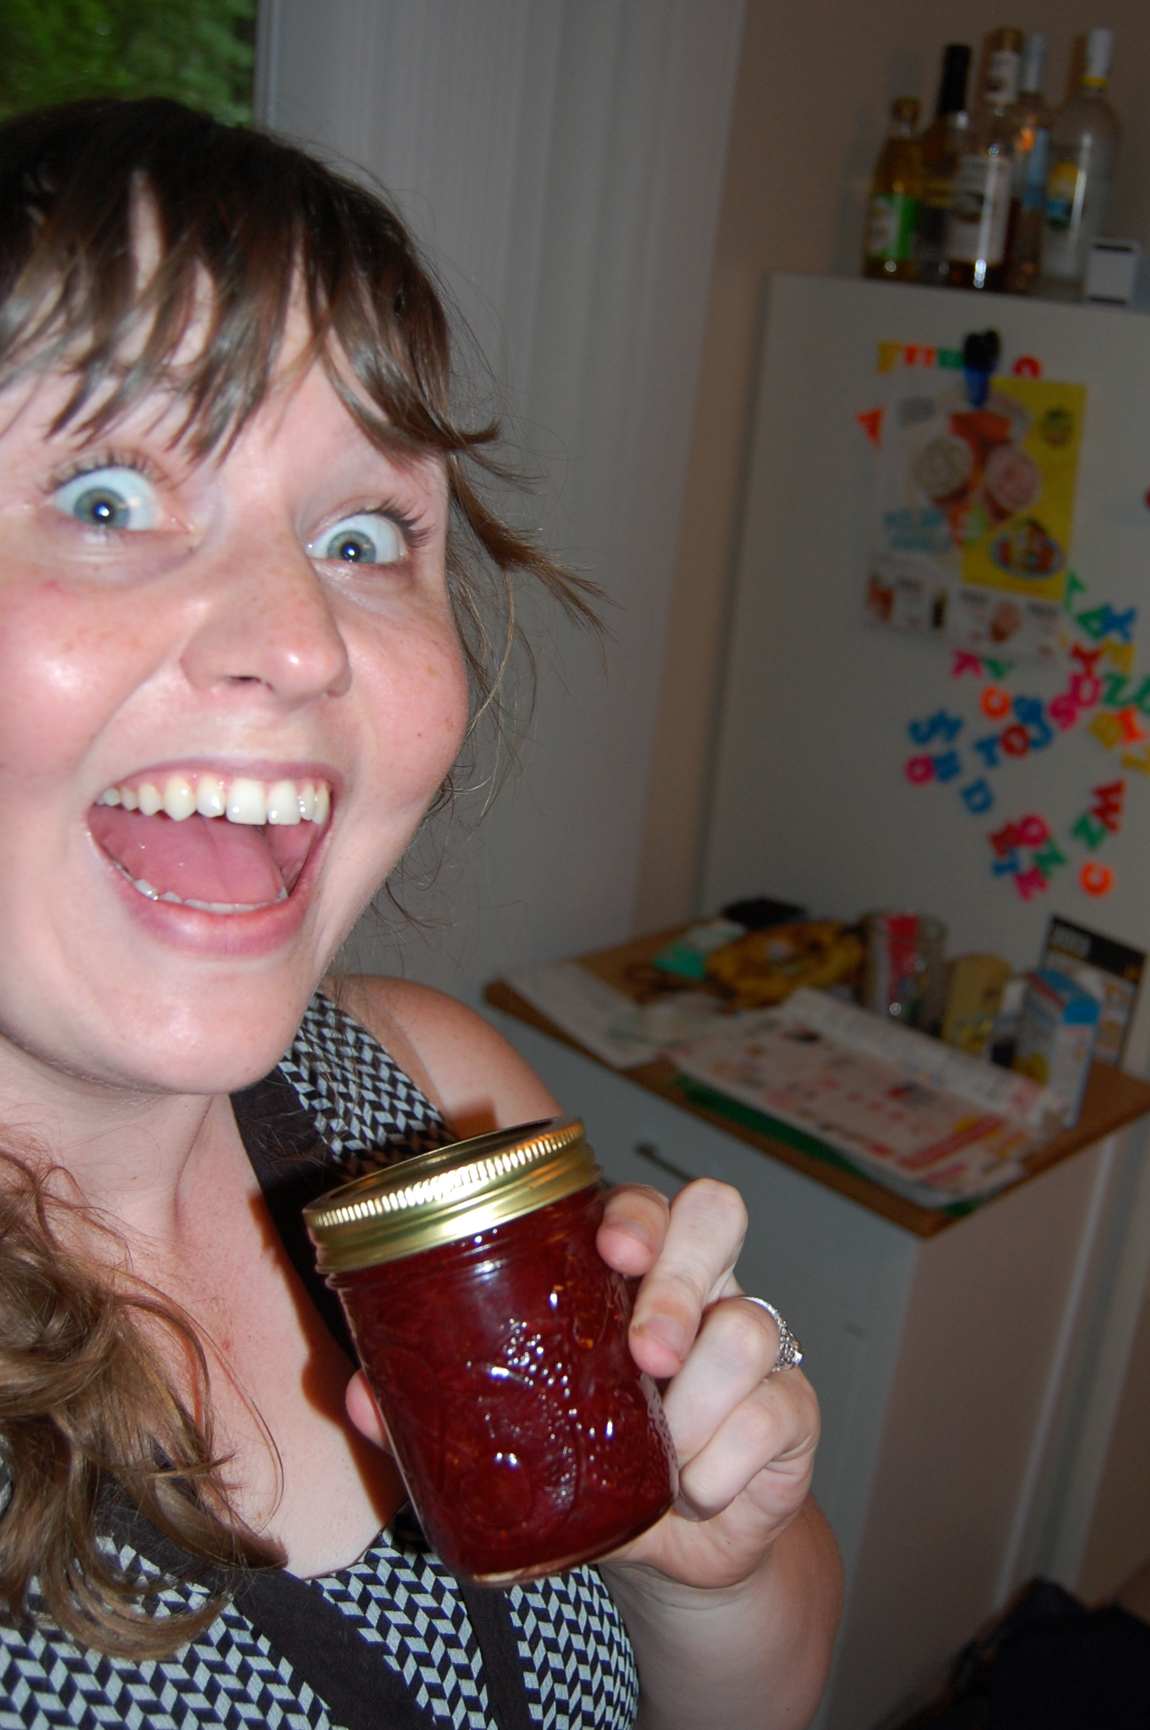
HappyJammin

Have you ever canned before?

P.S. You can also view this recipe on my blog, Thriftburgher.

Thursday, May 15, 2014

Roasted Rhubarb Clafouti


Monday was the opening day of the East Liberty farmer's market! Very exciting! There wasn't a lot of variety at the market quite yet but plenty of rhubarb. 


Last year I made some rhubarb gallettes that were absolutely amazing and must be made again soon, but this time I wanted to whip something up a bit quicker. This rhubarb clafoutis from a Kitchn recipe fits the bill perfectly. It's so simple and tasty - like a sweet, barely set custard. Roasting the rhubarb is a good way to avoid having to put tons of sugar with it since it helps cut the tart flavor.  


I'll have to get some more rhubarb at the farmer's market next week so I can make Michelle's coffee cake and the rhubarb mash that my grandparents always make.

ROASTED RHUBARB CLAFOUTI

For the Rhubarb
2 cups (8 1/2 ounces, about 3 long stalks) diced rhubarb
2 tablespoons granulated sugar
1/2 teaspoon cinnamon

For the Clafouti
1/3 cup (2 1/2 ounces) granulated sugar
3 large eggs
1 teaspoon vanilla extract
1 cup (8 ounces) whole milk (I used 1/2 cup 2% milk, 1/2 cup half & half)
1/2 cup (2 1/2 ounces) all-purpose flour
1 teaspoon lemon zest
pinch of salt

Friday, September 6, 2013

Ground Cherry Coffee Cake

Ground cherries are related to tomatoes and tomatillos (all of them are in the nightshade family). They have a husk that surrounds them much like tomatillos, and they taste like a sweet tropical fruit with the texture of a tomato.

They are ready to harvest when they fall to the ground and will stay good for 2-3 weeks if you keep the husks on them. Laura has 2 plants at the house and we have a whole row growing at the Pittsburgh project. These are best fresh, but when there is such an abundance what can I do but bake them into a cake? This recipe is from The Kitchn and I made this cake while my family was in town.

2 cups white whole-wheat flour
1 cup cane sugar
1 ¼ teaspoons salt
10 tablespoons chilled unsalted butter, cubed
1 ¼ teaspoon baking powder
½ teaspoon baking soda
¾ cup buttermilk (or regular milk with 1 tsp vinegar)
1 large egg
2 teaspoons vanilla extract
3 cups ground cherries, husks removed
1/2 cup chopped raw walnuts
1/3 cup packed dark brown sugar
2 teaspoons ground cinnamon

Preheat oven to 325 degrees Fahrenheit. Grease a 10 inch springform pan.
Mix together the flour, sugar and salt in a food processor. Add the cubed butter and pulse until the butter chunks are the size of peas. Remove 1 cup of flour & butter mixture into a second bowl and set aside to use as topping later.
Add in baking powder and soda to base flour mixture and whisk gently. Add buttermilk and egg fold in until incorporated.
Pour flour mixture into cake pan. Pour the ground cherries evenly over the batter. Next, mix the nuts, brown sugar, and cinnamon to the reserved flour mixture. Stir and sprinkle over the top.

Bake for 60 minutes until a toothpick comes out crumby, but clean. It's hard to tell if the cake is done becasue the crumb topping covers it, but I just take it out after an hour. Serve with ice cream!

Friday, July 26, 2013

Honey & Spice Glazed Pork Tenderloin with Apricots


We had our grandparents over for dinner for the first time at the new place, and I made this pork tenderloin dish with apricots. I was very satisfied with this dinner! It looked impressive but was really easy and quick to make. I'm already excited to make it again, changing the fruit out with whatever's seasonal.


I had never cooked pork before, but Julia talks about all of her pork dishes all the time. (So she should post some recipes...) This dish has officially converted me to pork cooking because it was so delicious for such a simple and cheap meal. I got the pork tenderloins at Aldi for a good price, so the total cost was really low for feeding a group of people. I got home from work at 5:30 and dinner was on the table and looking good on one of Michelle's wedding present serving dishes by about 6:15!


  • ***Photos courtesy of Linda and her iPhone!!

HONEY & SPICE GLAZED PORK TENDERLOIN WITH APRICOTS
Adapted from Wholeliving.com, where it's a grilled dish (Martha Stewart)

1 teaspoon coriander seed
1/2 teaspoon black peppercorns, plus freshly ground pepper for pork
3/4 cup honey
2 tablespoons cider vinegar
1/4 teaspoon sea salt, plus more for pork
1 organic pork tenderloin (1 1/4 pounds)
3 tablespoons olive oil, plus more for scallions and apricots
8 scallions
6 medium-ripe apricots (about 1 pound), halved and pitted 

Wednesday, July 24, 2013

Apricot Cake


In Bon Appetit these are little apricot cakes, but I made a big apricot cake. Apricots were on sale at Giant Eagle!


BIG OR LITTLE APRICOT CAKE


Nonstick vegetable oil spray or butter 

1 cup all-purpose flour

1 1/2 teaspoons baking powder

1/4 teaspoon kosher salt

6 tablespoons (3/4 stick) unsalted butter, room temperature

1/3 cup sugar

1 large egg

1 teaspoon finely grated lemon zest

1 teaspoon vanilla extract

1/3 cup whole milk

2 apricots, halved, pitted, cut into 1/4-inch wedges

2 tablespoons raw sugar

LinkWithin

Related Posts Plugin for WordPress, Blogger...